
Azure App Service Private Link Integration with Azure Front Door Premium
Last week , Azure Front Door Premium went into Public Preview. While this did bring about some other cool features and integrations, the one I’m most excited about today is the integration with Azure Private Link. This now allows Azure Front Door to make use of Private Link Services (not endpoints, which is what most people think about when they hear Private Link). Private Link Services allow for resource communication between two tenants, some of the most common use cases are software providers allowing private access to a solution running in their environment. Today I’m going to walk through how to connect Azure Front Door, through Private Link, to an App Service, without an ASE, the need to work with Private Link, DNS or anything of the sort. I believe this will become the new standard for hosting App Services.
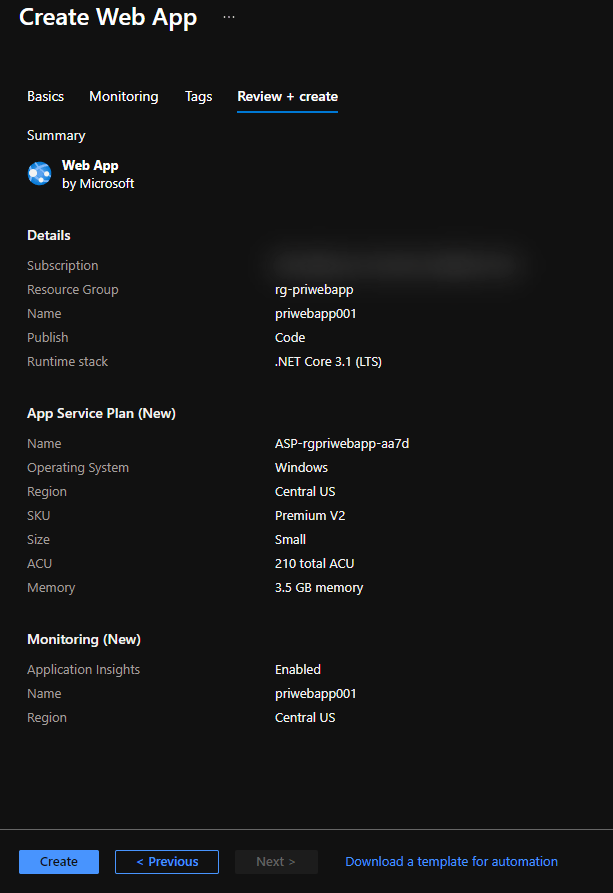
With that, let’s get started! First, we need to create an Azure App Services Web App.

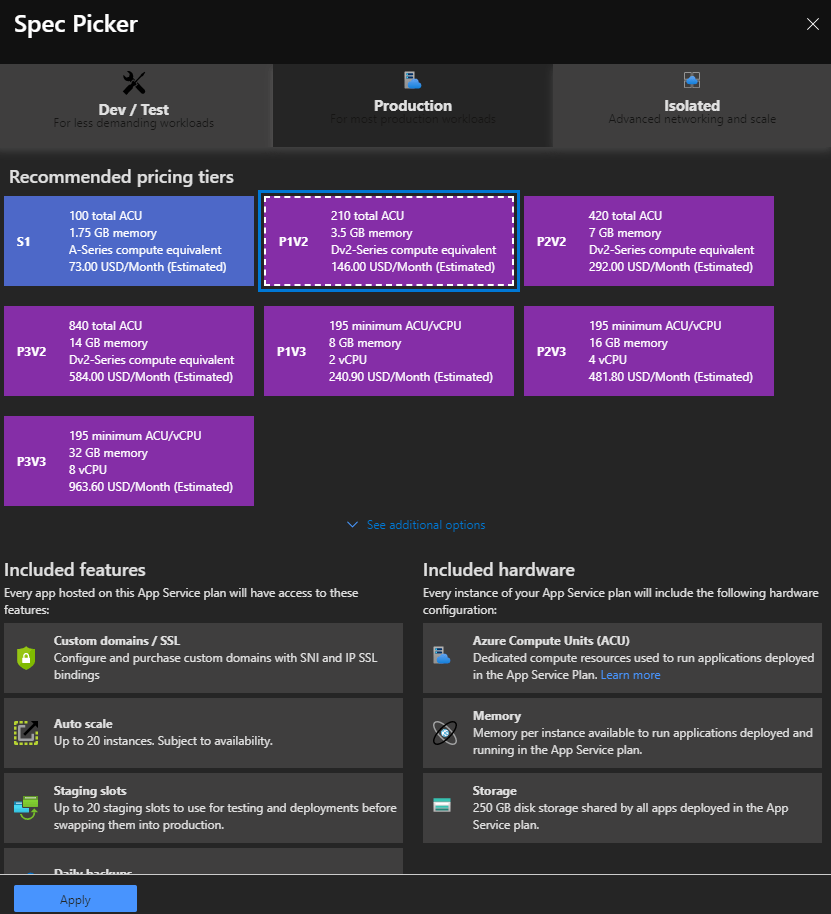
*Note* At the time of writing this post (03/01/2021) Private Link Service integration requires the App Service to be a Pv2.
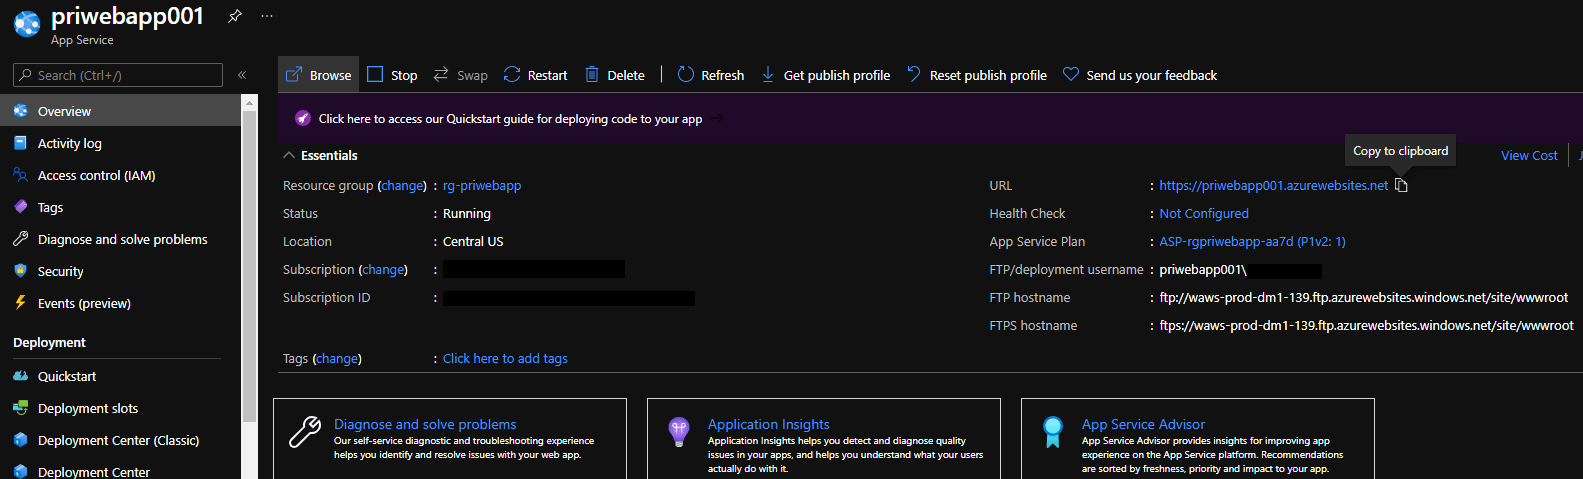
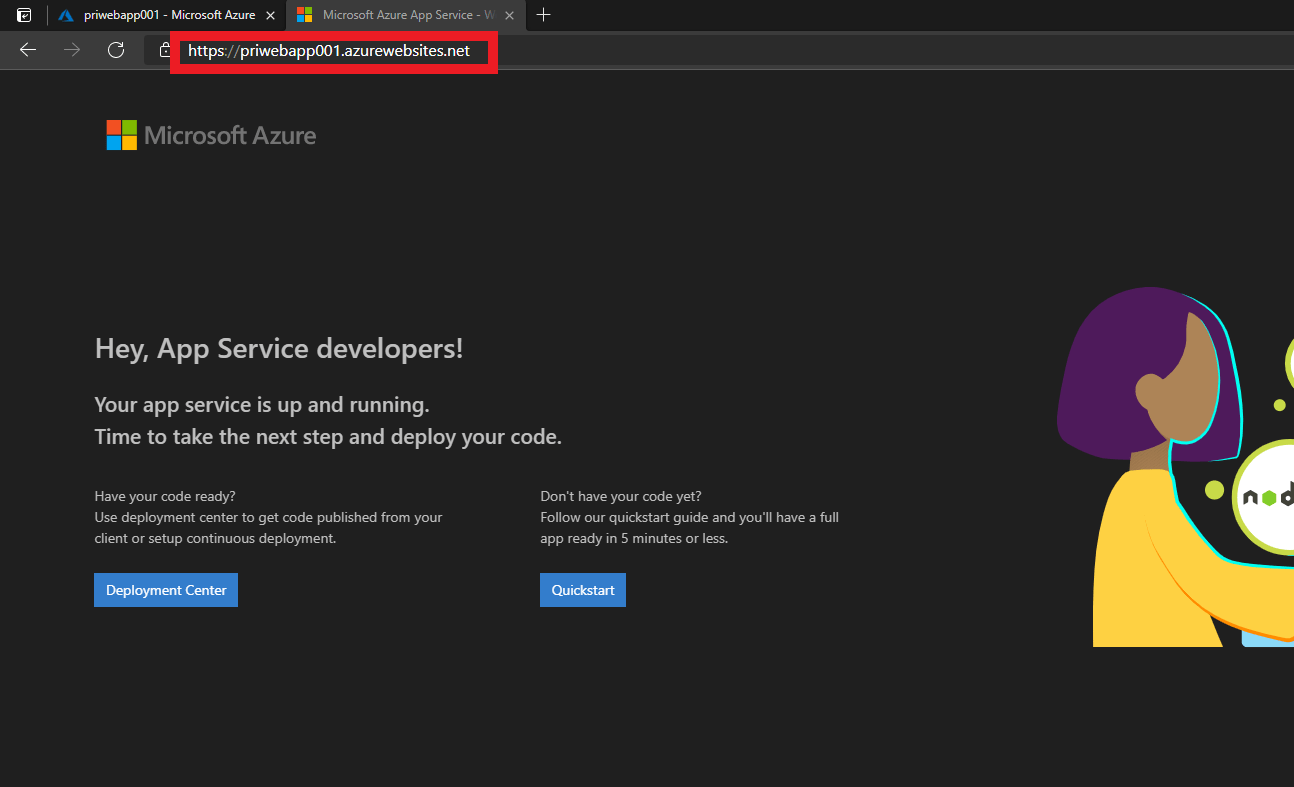
Once the Web App is deployed, you’ll need the URL of the website and want to test it in a web browser. In this instance I’m not hosting anything in particular, simply hosting the sample page to show that it’s working.
At this point the web app is created, and you would expect to have to create a Private Link Endpoint now but since Azure Front Door Premium uses the Private Link Service functionality we can let Front Door do the work for us. With that said, let’s now go create the Azure Front Door Premium Service.

We need to make sure that the Tier is selected properly as the “Premium” SKU. After that radio button is selected, a section will populate below with different configuration options compared to the Standard Tier. The one we need to make sure to check is “Enable private link service”. After that’s selected, you will select the web app with which you want to establish Private Link connectivity from Front Door. If you would like, here you can also add a custom message. This will be what is displayed as a connection request in the Private Link Center in the next step.


On the review page, we can see that the endpoint created is a URL for Azure Front Door and this will be the public endpoint. The “Origin” is the web app to which Front Door will be establishing private connectivity.

Once Azure Front Door is done deploying, you will need to open up the Private Link Center. From there you will navigate to the “pending connections”, which is where you will see the connection request from Azure Front Door with the message you may or may not have customized. Remember that Azure Front Door uses Azure Private Link Service to connect it’s own managed Private Link Service to your Web App. You will need to “Authorize” the connection request in order for the connection to be created and allow Front Door to privately communicate with your Web App.

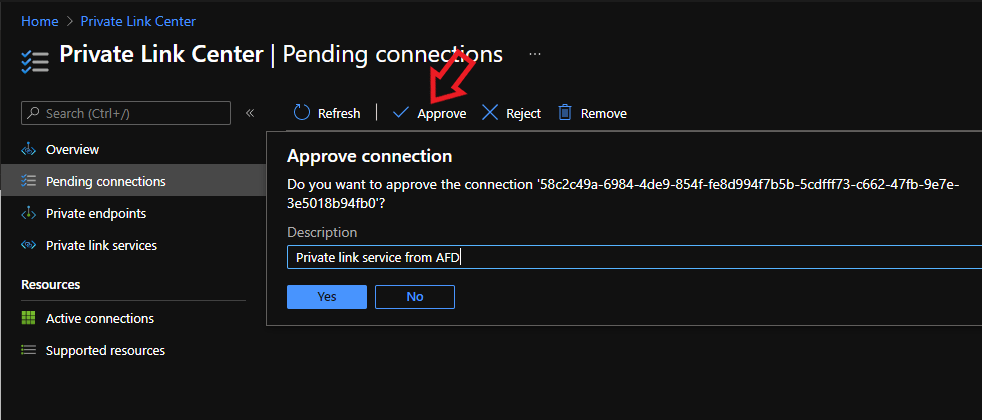
After the connection is approved you will notice that the “pending connection” is removed, and has been moved to “active connections”. At this point, you will also notice that access to the Web App through a browser will return an error message the same way it would if you were to have added firewall rules on the Web App. This is because it’s being configured to only allow inbound connections from Azure Front Door.


If you want to modify any of the configuration settings, you will go to the “Endpoint Manager” section of Azure Front Door, where you get the familiar interface used by both Azure Front Door and App Gateway.

In my testing, the time between clicking “Approve” in Private Link Center to the Web App being available through the Azure Front Door endpoint is anywhere between 15-30 minutes. I’m not quite sure why this is the case, though it is likely due to the service only being in preview. If you get an error message in the web browser using the Front Door URL, just grab a cup of coffee and give it some time to do its thing.
Once it’s all done though, you can use the Front Door URL in the web browser and see that it routes you to the App Service!

There we go, all set! This is really a dream configuration, and something a lot of us have been looking forward to for some time. In the past we’ve done something similar with App Gateways, and Private Link Endpoints. The beauty of the solution with Front Door Premium, is that there is no messing around with DNS or infrastructure whatsoever – you can deploy this entire solution in PaaS while taking advantage of Azure Front Door’s global presence!
Click here to get started with Azure Front Door Premium.
If you have any questions, comments, or suggestions for future blog posts please feel free to comment blow, or reach out on LinkedIn or Twitter. I hope I’ve made your day a little bit easier!